
Understanding Plastic Sheeting: Types and Uses
Plastic sheeting is a versatile material widely utilized in various sectors ranging from construction to interior design. Its applications are extensive, and understanding the types and uses of plastic sheeting can significantly enhance your home improvement projects. For those tackling DIY projects, learning how to remove plastic sheeting, or cách gỡ lớp ép plastic tại nhà, can make a significant difference in achieving a clean and professional finish.
What is Plastic Sheeting?
Plastic sheeting, also known as plastic film or plastic tarp, consists of a thin layer of plastic material, typically made from polyethylene or PVC. This material is produced in various thicknesses and is primarily used to protect surfaces, control moisture, or provide insulation. Its flexibility and durability make plastic sheeting an excellent choice for temporary barriers, weather protection, or as a part of a longer-term renovation strategy.
Common Types of Plastic Sheeting
There are several common types of plastic sheeting, each with specific characteristics and uses:
- Polyethylene Sheets: Widely used in construction and landscaping, polyethylene sheets are available in different thicknesses, generally ranging from 4 mil to 20 mil. They act as moisture barriers and are resistant to tearing.
- PVC Sheets: These are thicker and more durable than polyethylene sheets. PVC sheets are often used in applications requiring high tensile strength, such as in industrial settings.
- Vapor Barriers: Used to prevent moisture migration, vapor barriers are commonly installed in basements or crawl spaces. They are generally made of polyethylene and are essential in maintaining a dry indoor environment.
- Reflective Sheeting: This type of sheeting reflects light and heat, making it ideal for applications such as greenhouses and solar energy installations.
Applications in Home Improvement
In home improvement, plastic sheeting has numerous applications. It can be used for temporary protection during renovations, as a drop cloth for painting, or as a barrier to separate work areas. It is also essential in winterizing windows or sealing off drafty areas to improve home energy efficiency. Understanding these applications helps homeowners better plan their projects and utilize materials effectively.
Preparing for the Removal Process
To successfully remove plastic sheeting from various surfaces, preparation is key. Knowing the right tools, safety precautions, and evaluating the surface underneath can streamline the removal process.
Essential Tools and Materials
Gathering the right tools and materials is the first step toward effective removal. Some essential items include:
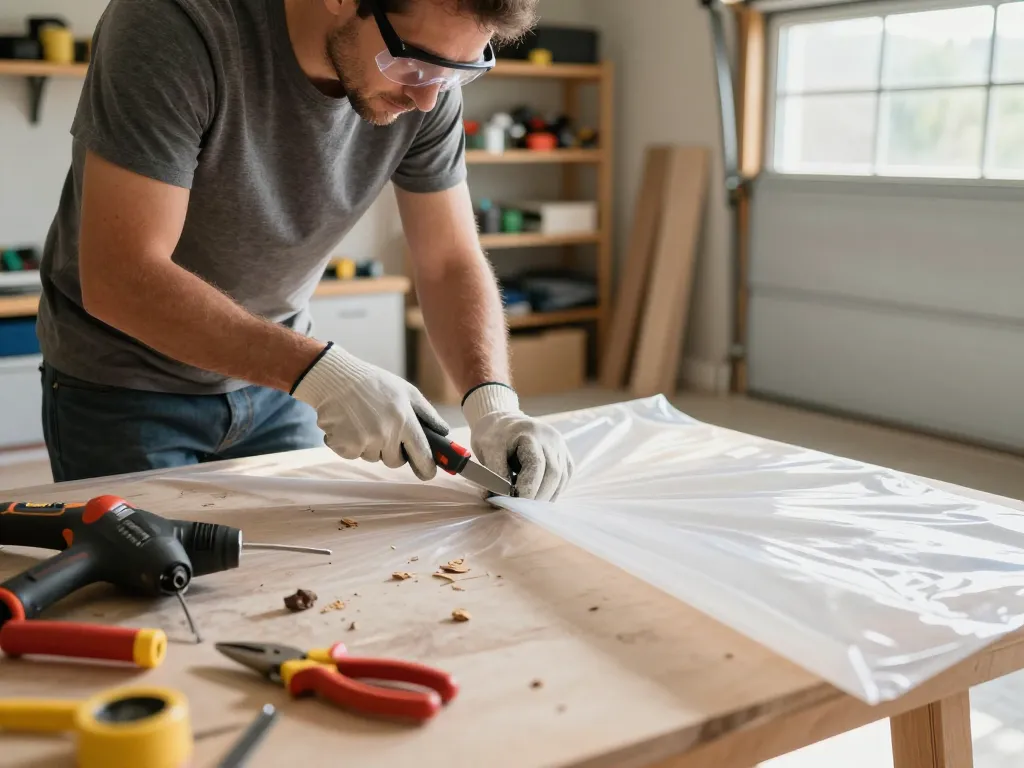
- Utility knife or razor blade for cutting through the plastic.
- Heat gun or hairdryer for loosening adhesive.
- Scraper or putty knife for prying off stubborn pieces.
- Protective gloves and goggles to ensure safety during the process.
- Solvent or adhesive remover for cleaning up any residues left behind.
Safety Precautions to Follow
Safety should always come first. When working with plastic sheeting, it is crucial to:
- Wear protective gear, including gloves and safety goggles, to guard against sharp edges and harmful chemicals.
- Ensure proper ventilation when using solvents or heat guns.
- Be cautious of electric tools to prevent accidents.
Assessing the Surface Underneath
Before starting the removal process, assess the underlying surface. Identify the type of material you are working with—be it drywall, wood, or concrete. Understanding the material will help you choose the best removal techniques and prevent damage during the process.
Step-by-Step Guide to Removing Plastic Sheeting
Now that you are prepared, here is a step-by-step guide to effectively remove plastic sheeting from any surface:
Initial Techniques for Detaching Plastic
Begin by gently peeling back a corner of the plastic sheeting. Use your utility knife to cut along edges if necessary. If the plastic is secured with adhesive, consider using a heat gun to soften the adhesive before attempting removal.
Using Heat for Easier Removal
Applying heat can significantly simplify the removal process. A heat gun or hairdryer can be used to warm the adhesive on the back of the sheeting, making it less sticky. Move gradually along the edges, providing consistent heat, and carefully peel the sheeting away as it loosens.
Final Cleaning and Surface Care
Once the plastic sheeting has been removed, there may be adhesive residues left on the surface. Use a solvent or adhesive remover to clean it up. Ensure the surface is thoroughly dried before applying new finishes or coverings, such as paint or wallpaper.
Common Challenges and Solutions
During the removal process, various challenges may arise. Here are common issues and practical solutions:
Dealing with Stubborn Adhesives
Some adhesives can be exceptionally tough to remove. In these cases, using a heat gun can help, followed by scraping gently with a putty knife. If all else fails, commercial adhesive removers can break down even the most stubborn residues.
Protecting Underlying Surfaces
To prevent damage to the underlying surface, always start at an inconspicuous edge. Use less aggressive scraping tools to avoid scratching or gouging any painted or polished surfaces.
Environmental Considerations in Disposal
Proper disposal of plastic sheeting is crucial to minimize environmental impact. Check local regulations for recycling options and avoid simply throwing plastic sheeting in the regular trash when possible. Many recycling centers accept plastic sheeting, so be sure to do your part for the environment.
Future Trends in Home Improvement and DIY Projects
The landscape of home improvement and DIY projects is constantly evolving. Stay ahead by being aware of future trends and innovations in the field.
Innovative Materials for Home Renovations
Emerging materials such as bio-based plastics and recycled plastics are gaining traction. These materials not only offer sustainable options but are also designed to enhance durability and aesthetic appeal in home renovations.
Emerging Techniques for Easier DIY
With technology advancing, DIY techniques are becoming more accessible. Tutorials, apps, and online communities provide guidance, making it easier for homeowners to undertake challenging projects with confidence.
Resources for Ongoing Learning
To keep up with trends and innovations, consider joining home improvement workshops or online courses. Many platforms offer free resources, tutorials, and guidance on the latest tools and materials, empowering you to enhance your skills continuously.
What tools do I need for cách gỡ lớp ép plastic tại nhà?
Typically, you will need a utility knife, heat gun, scraper, adhesive remover, and safety gear.
Is it safe to remove plastic sheeting myself?
Yes, as long as you follow safety precautions, such as wearing gloves and goggles, and use appropriate tools.
What are the best practices for preparing surfaces?
Assess the underlying material, gather the necessary tools, and ensure a clean working area to facilitate the removal process.
How do I properly dispose of old plastic?
Check local recycling regulations and consider recycling centers that accept plastic sheeting to minimize environmental impact.
What trends can I expect in home DIY for 2026?
Expect to see sustainable materials gaining popularity, along with innovative techniques and more accessible DIY resources.